Casual commercial surveillance
Let’s explore practical and secure low-cost home surveillance options.
Introduction
After weighing many options — DIY Raspberry Pi cameras, solar IP cams, commercial “plug-and-play” cameras, even contracted surveillance services — this post kicks off a small series about realistic, budget-friendly home surveillance setups.
In this first entry, I’ll cover the “casual commercial” route: an off-the-shelf Wi-Fi camera one can find online (I bought it on Wallapop), managed entirely through a mobile app.
Other (future) posts will cover the DIY (RasPi Cam) and solar setups, among others.
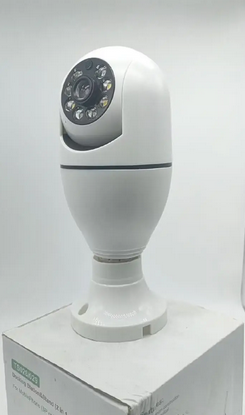
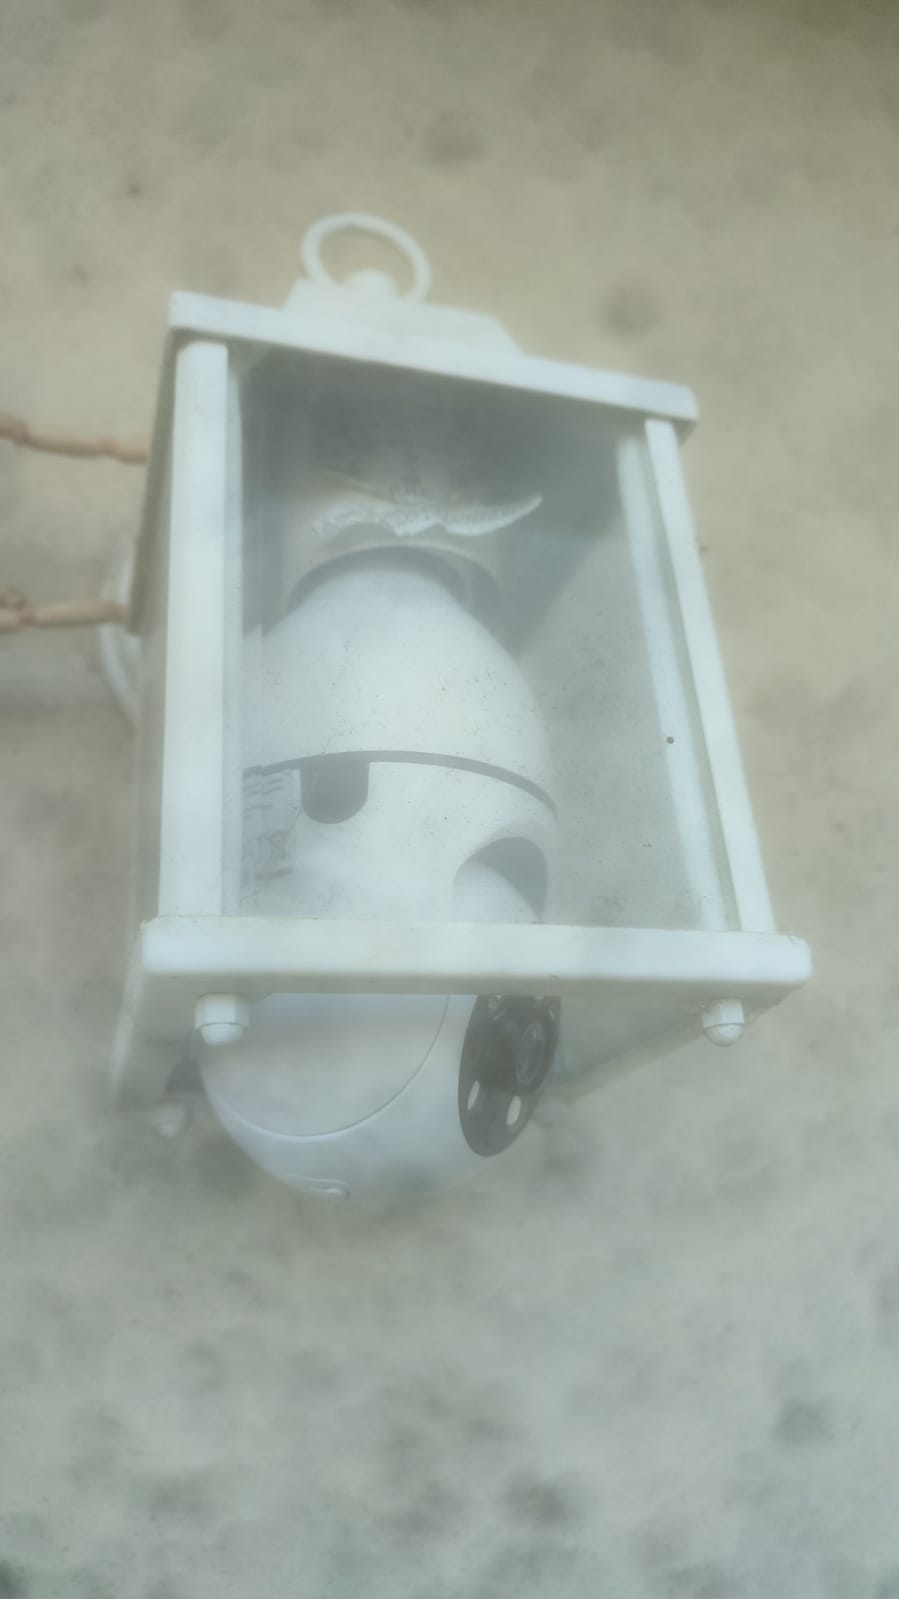
The device: a V720 E27-type camera
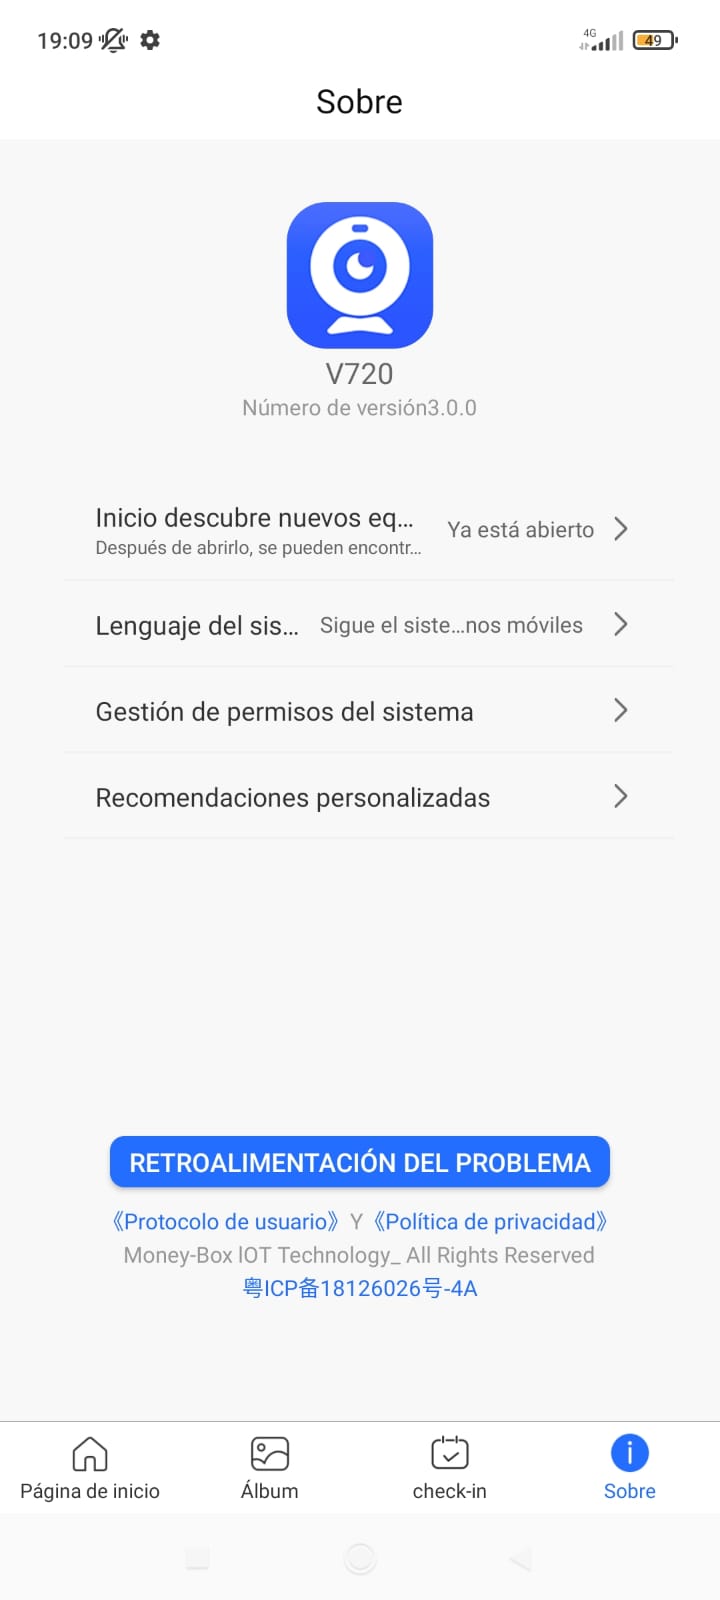
I picked up a cheap 10 € E27 screw-base camera (light-bulb style) on Wallapop. It connects to the V720 app, made by 广州钱柜物联科技有限公司, which has 5 M+ downloads.
What I discovered when connecting it
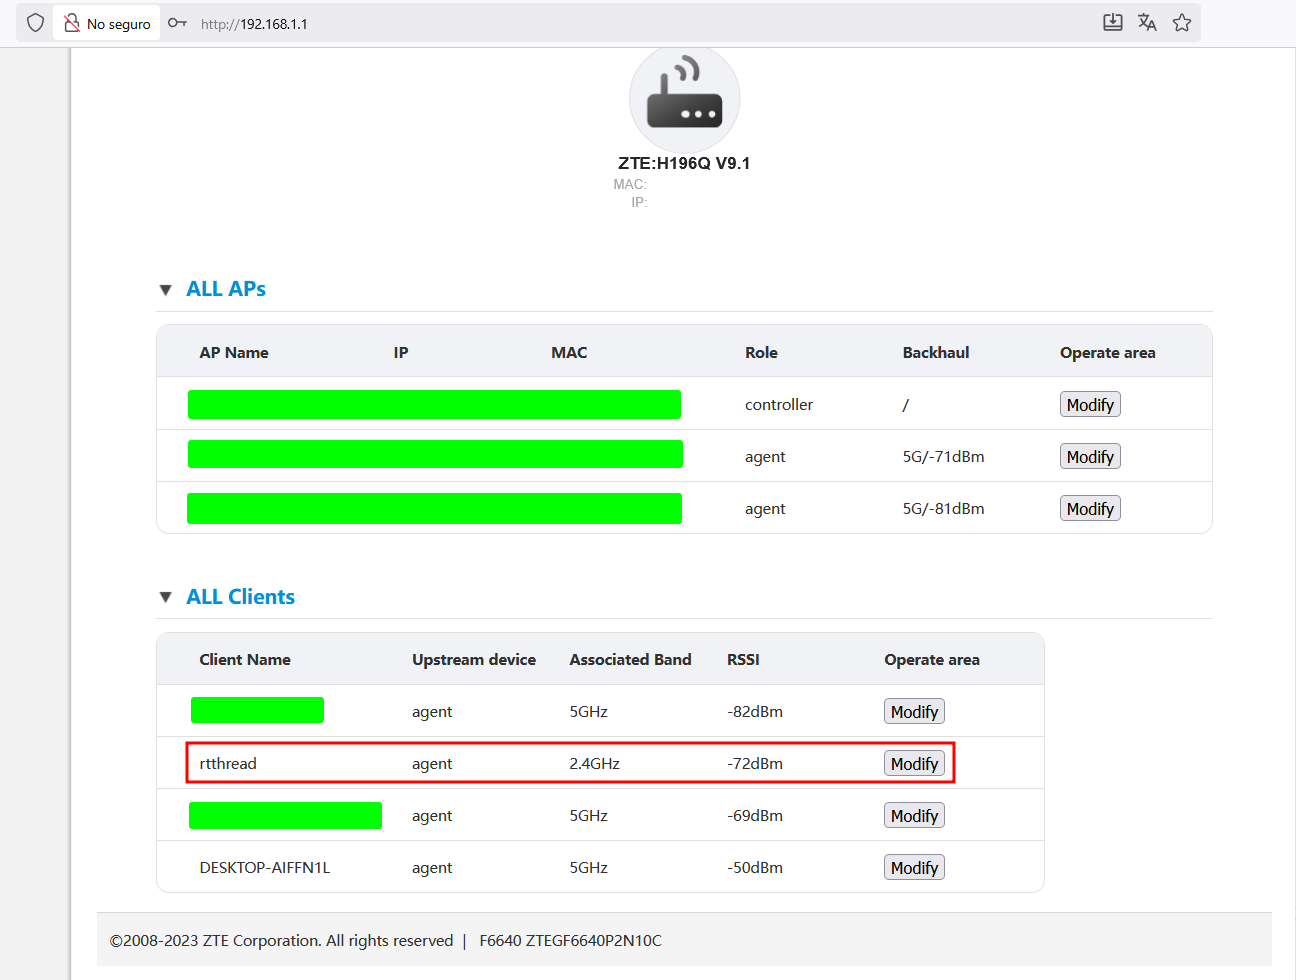
Setup was simple: connect the camera to the 2.4 GHz Wi-Fi and link it in the app.
From my router’s web panel (http://192.168.1.1/) I noticed the camera runs RT-Thread, a lightweight real-time OS used in many IoT devices.
Security observations
While convenient, these low-cost cameras share a few recurring issues:
- Default or weak passwords.
- Cloud connections to unknown third-party servers.
- Outdated firmware or hidden backdoors.
- Unencrypted local services (HTTP / RTSP) and risky UPnP behavior.
Options I considered
-
Just connect it to my main Wi-Fi. – Fast and easy, but it exposes my entire home network to any camera flaw.
-
Use an ESP32 as an isolated gateway. – Cool idea on paper (camera → ESP32 → router), but not worth it in practice: the ESP32 lacks true routing/firewall features, and adding it can increase the attack surface.
Note: I dropped this approach after testing; the ESP32 is great for prototyping, but not for continuous IoT video bridging and a vulnerability dressed as an isolating gateway.
-
Network isolation at the router level. – The solution I kept: manage everything from the router, creating a dedicated network just for cameras.
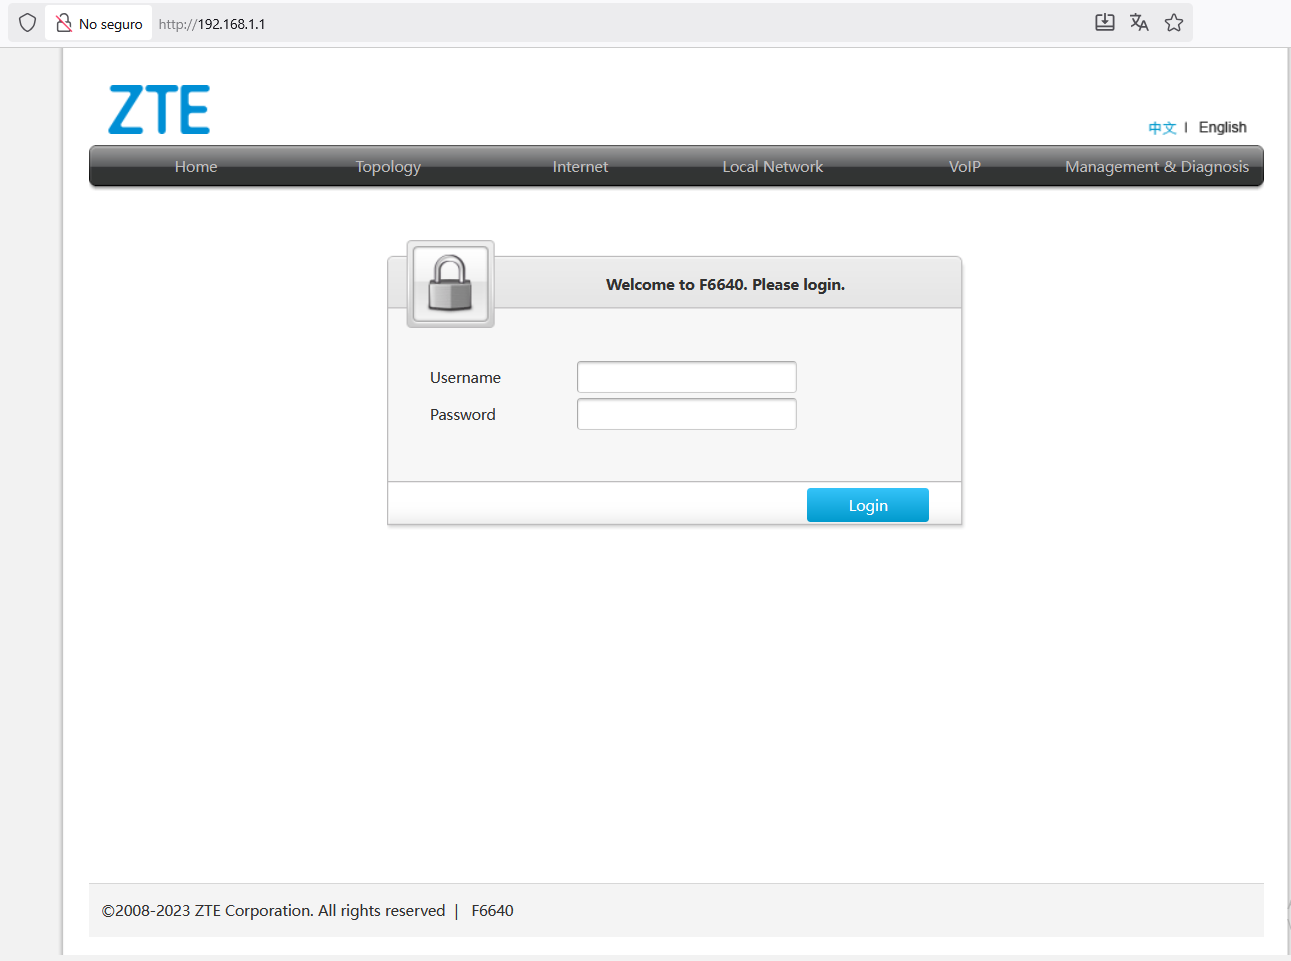
Router configuration
Accessed via http://192.168.1.1/
(First step: changed the default credentials to a strong, unique password.)
Recommended steps to apply
-
Changed the admin credentials. It is important to never leave factory defaults active.
-
Disabled remote / WAN management. The admin panel must be accessible only from inside the LAN.
-
Updated the router firmware. Critical for patching known vulnerabilities.
-
(Optional) Created a dedicated “Camera” SSID / VLAN. Devices on this network can’t see my laptops or phones. Client / AP isolation enabled.
-
(Optional) Blocked Internet access for that VLAN. Only local communication with my NVR is allowed.
-
Disabled UPnP and WPS. These can open ports or pair devices automatically — unsafe defaults.
-
Forced WPA2 / WPA3 encryption. Using a long, unique passphrase.
(Optional) Basic firewall rules (concept)
The goal would be the following:
- Deny all outbound traffic from the camera network to the Internet.
- Allow only camera → NVR (local) traffic.
# Example (OpenWRT / iptables)
iptables -I FORWARD -s 192.168.3.0/24 -o eth0 -j REJECT
iptables -I FORWARD -s 192.168.3.0/24 -d 192.168.1.100 -p tcp --dport 554 -j ACCEPT
Tip: order matters — specific ALLOWs first, then the general DENY.
Optional: Cellular connectivity, motion detection & edge AI
Besides using local Wi-Fi, it’s also possible to equip or pair the camera with cellular connectivity (SIM card via 4G/LTE, NB-IoT, or LTE-M). This allows recording or sending alerts even when Wi-Fi is down — or as a fully independent channel.
Technical overview
A setup like this can work with:
- A cellular module connected to the camera or to a small gateway (ESP32, Raspberry Pi, etc.).
- A local buffer to store short clips or frames before upload.
- Motion detection handled locally (basic pixel-difference or bounding-box detection).
This way, one can run a lightweight AI model (e.g., TinyYOLO, MobileNet-SSD…) to filter out irrelevant motion — only sending alerts when humans or unusual objects are detected, nested with a simple alert system can send photos directly via Telegram, e.g.:
https://api.telegram.org/bot<YOUR_TOKEN>/sendPhoto?chat_id=<CHAT_ID>&photo=<FILE>
Or other push alerts like Firebase or Pushover.
Legal note (Spain)
Under Spanish and EU privacy law (AEPD guidelines), indoor home cameras used strictly within your private property are generally considered domestic use. That means:
- No need for a public notice sign if the camera doesn’t record public areas or neighbors.
- Don’t capture audio conversations or external zones (street, shared areas).
- Community or business installations do require signage and compliance with full GDPR/LOPD protocols.
Summary:
If your camera records only inside your home and doesn’t capture other people’s private areas or the public street, you’re typically not required to display a surveillance notice. Always disable audio recording and maintain secure access credentials.
Power setup: light socket or dedicated outlet
Currently, the camera is powered from an existing E27 light socket, which provides 230 V AC. It’s a simple plug-and-play setup since the device behaves like a standard bulb.
Electrical basics (Spain / EU)
- Voltage: 230 V AC, 50 Hz
- Phase (L): brown/black — live
- Neutral (N): blue — return
- Earth (PE): green/yellow — safety ground
The camera consumes aprox. 5.8 W and internally converts AC to DC. The earth wire doesn’t carry current — it’s purely a safety path in case of faults.
Moving the camera elsewhere
One can extend power from a nearby junction box:
- Take L and N from a lighting circuit (10 A breaker).
- Add PE to the new socket or metal housing.
- Use an insulated enclosure for connections.
- Test polarity and insulation before re-energizing.
Safety tip: Work only with the circuit powered off with electrical insulating gloves (IEC 60903). Permanent wiring must comply with Spain’s REBT standard (grounding, RCD protection, proper insulation, etc.).
Practical alternative
Of course, if one doesn’t want to modify the fixed wiring:
- Use a lamp extension with a switch, or
- An E27-to-Schuko adapter plugged into a standard outlet.
Conclusion
Results and impressions
- The camera now works securely remotely an the configuration is local.
- The main home network stays partially isolated and safe.
For a 10 € gadget, it does its basic job fine — as long as it’s treated as an inherently untrusted device. Isolation is the single most effective control.
Among all considered approaches, the commercial Wi-Fi camera + router-level isolation may represent the best balance between cost, convenience, and security.
Upcoming posts will explore: – A solar-powered standalone camera build. – A fully local encrypted Raspberry Pi camera. – Integration with Home Assistant/AI/IoT through VPN access.
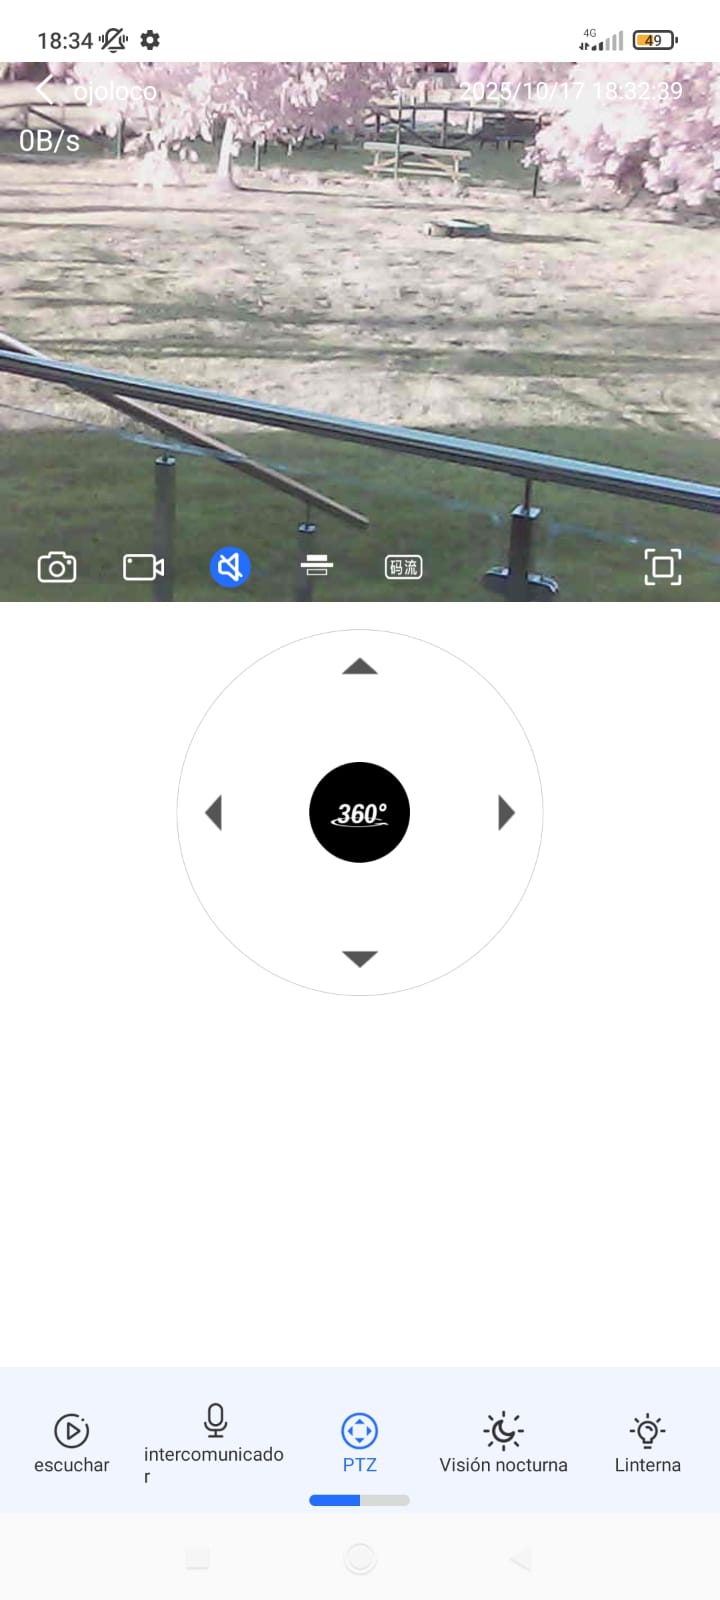
Finally, Ojoloco looks like this:
As a curiosity, it would be possible and even advisable to add additional infrared LEDs to greatly improve night vision, making them turn on by connecting (“splicing”) them to an additional power source and a switch, or something similar, at the input of the existing ones. As shown in this video.
References
-
Router login / credentials guides: https://router-network.com/zte-router-login https://bandaancha.eu/foros/zte-zxhn-f6640-contrasena-administracion-1750092
-
RT-Thread camera discussion: Popular A9 Mini Wi-Fi Camera & the HA Challenge – Home Assistant Community
-
General home-network hardening: – CISA guidelines (UPnP / IoT) – Consumer Reports: Use WPA3 & keep firmware updated
-
Popular A9 Mini Wi-Fi Camera & the HA Challenge – Home Assistant Community