miniVirgil
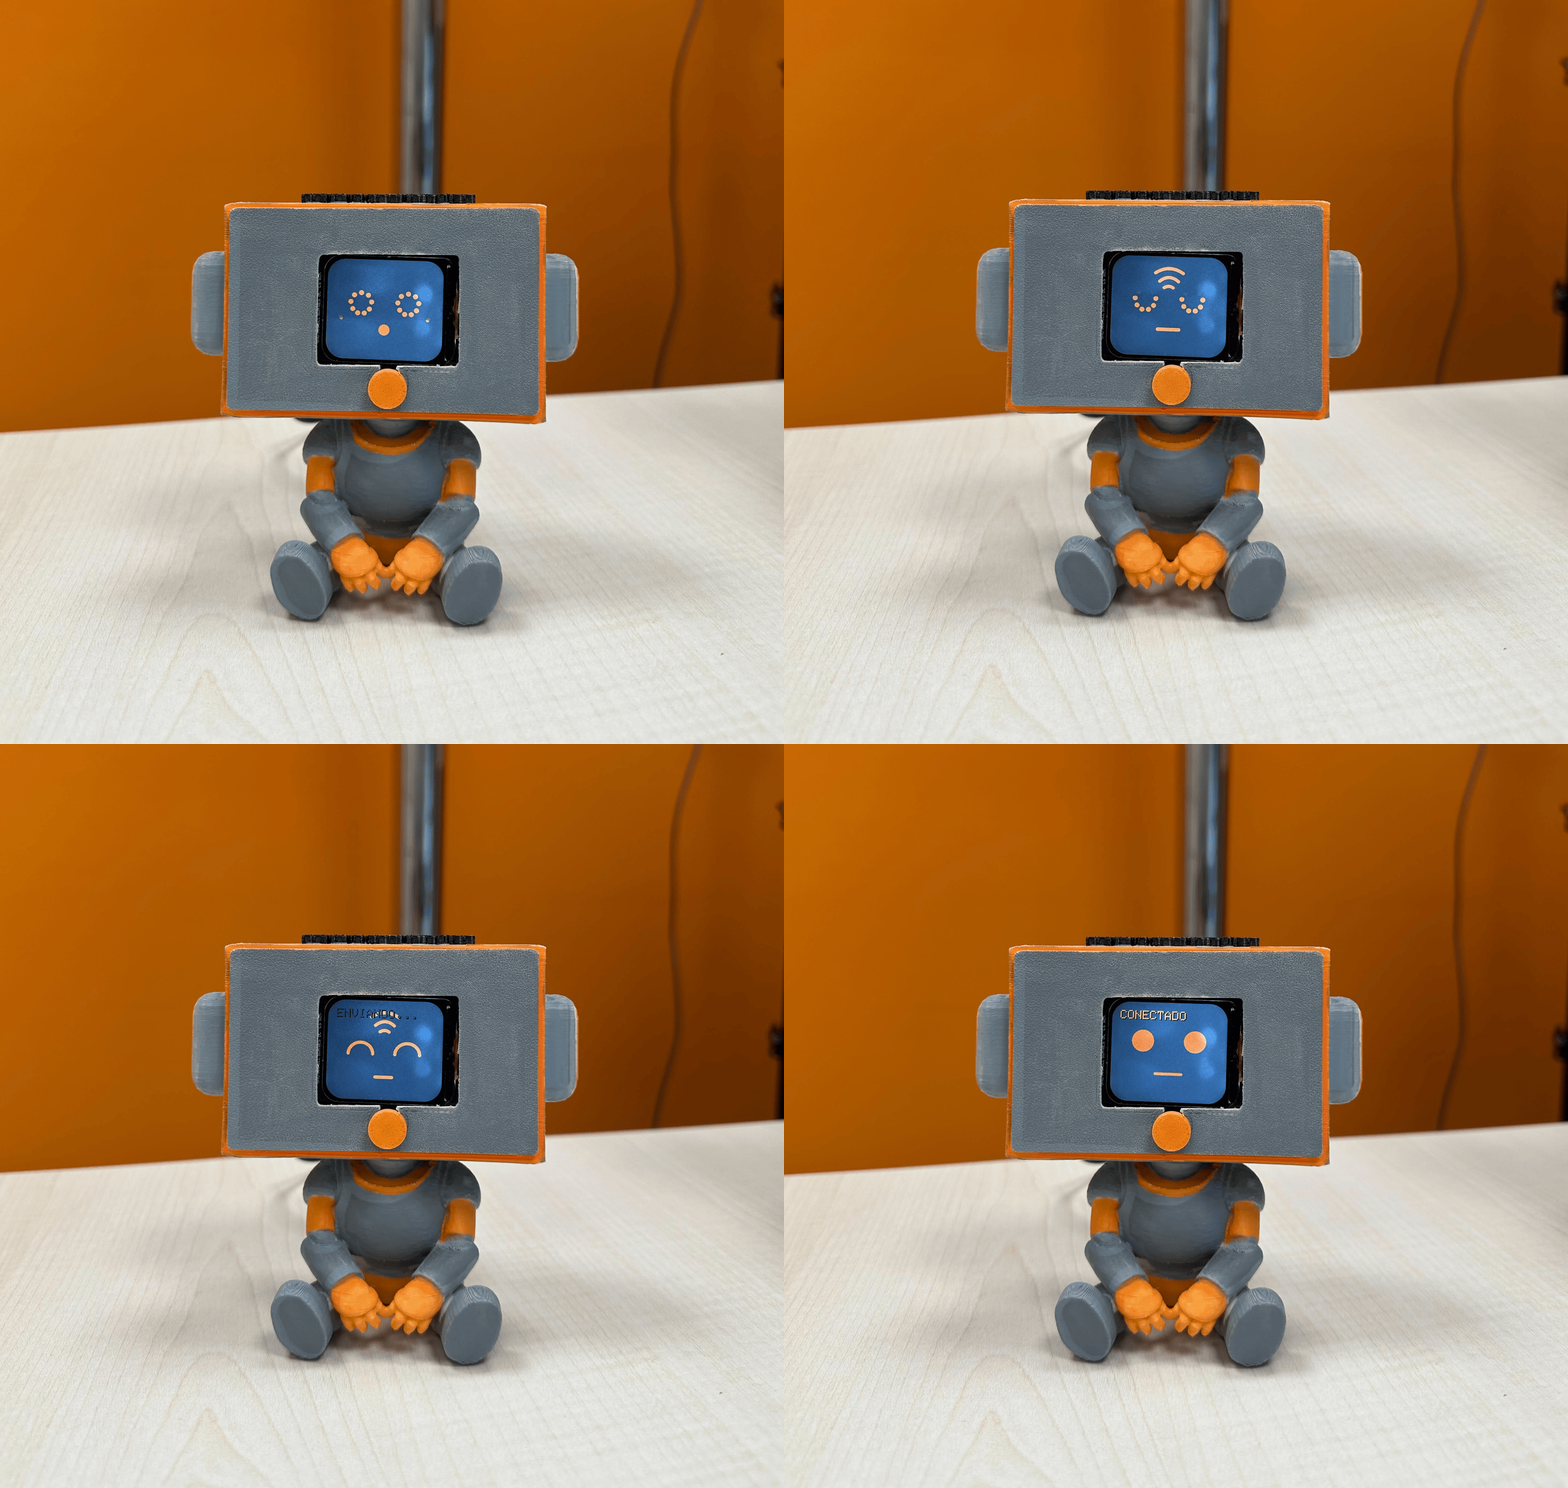
miniVirgil is a palm-sized voice endpoint for an AI assistant. Hold a button, speak, release — the ESP32-S3 records raw PCM and ships it over WebSocket to the IA backend, which may run STT → LLM → TTS. The microcontroller does no on-device AI: it is a thin, reliable physical front-end (mic + button + screen + WiFi).
The idea is simple: put an assistant on a desk without a keyboard or a phone. Press, talk, watch the TFT flip through the cycle states while the heavy lifting happens on the server.
How it works (software)
Firmware is a single Arduino sketch (firmware/main.ino). After boot it joins WiFi, opens a WebSocket to /ws/chat-audio, and sits in a small state machine:
STARTING → CONNECTED / DISCONNECTED
         → RECORDING...   (button held: I2S mic → PCM buffer in PSRAM)
         → PROCESSING → SENDING...  (binary PCM over WebSocket)
         → CONNECTED again
Design choices that matter in practice:
- Push-to-talk on GPIO 42 — press opens the INMP441; release freezes the buffer and sends it. No continuous streaming, no wake-word (yet).
- Raw 16 kHz PCM — uncompressed, left channel. Skipping on-board codecs cuts latency and keeps the MCU free of AI libraries.
- PSRAM as the audio scratchpad — short utterances fit comfortably in the ESP32-S3’s external RAM.
- Status bitmaps on the ST7789 — Waiting / Recording / Processing / Sending, converted from PNGs to RGB565 C arrays (
image_to_RGB565_bitmap.py) and drawn with Adafruit GFX.
Libraries: Adafruit ST7789 + GFX + BusIO, and WebSocketsClient. Board profile: ESP32S3 Dev Module, 240 MHz, 16 MB flash, OPI PSRAM enabled.
On the backend side, audio goes through STT (e.g. ElevenLabs Scribe / local OpenAI), an LLM (Qwen) with RAG and tools, then TTS — miniVirgil just waits for the next press.
Electronics
| Part | Role |
|---|---|
| ESP32-S3 N16R8 | MCU + WiFi, 8 MB PSRAM, 16 MB flash |
| INMP441 | I2S MEMS mic, 16 kHz voice capture |
| ST7789V2 | 240×280 IPS TFT for state feedback |
| Tactile button | Push-to-talk (GPIO 42) |
Power and layout live in electronic_design/ (schematic, PCB, BOM). The display is SPI; the mic is I2S; the button is a plain GPIO with the usual debounce in firmware. PSRAM is what makes “hold and speak for a few seconds” safe without fragmenting the internal heap.
Rough BOM
| Item | Notes |
|---|---|
| ESP32-S3 N16R8 module / DevKit for proto | Final board hosts the module footprint |
| INMP441 breakout (proto) / MEMS on PCB | Left channel at 16 kHz |
| ST7789 1.69″ 240×280 IPS | Status UI only |
| Momentary push button | Front-panel PTT |
| Custom PCB (2-layer) | From PCBWay |
| 3D-printed shell | Body + faceplate in mechanical_design/ |
| USB-C / LiPo path (as wired on the board) | Desk or battery use |
| Passives, headers, mounting hardware | Per the KiCad BOM |
Exact quantities and footprints: see the repo’s electronic_design/ folder.
Build story
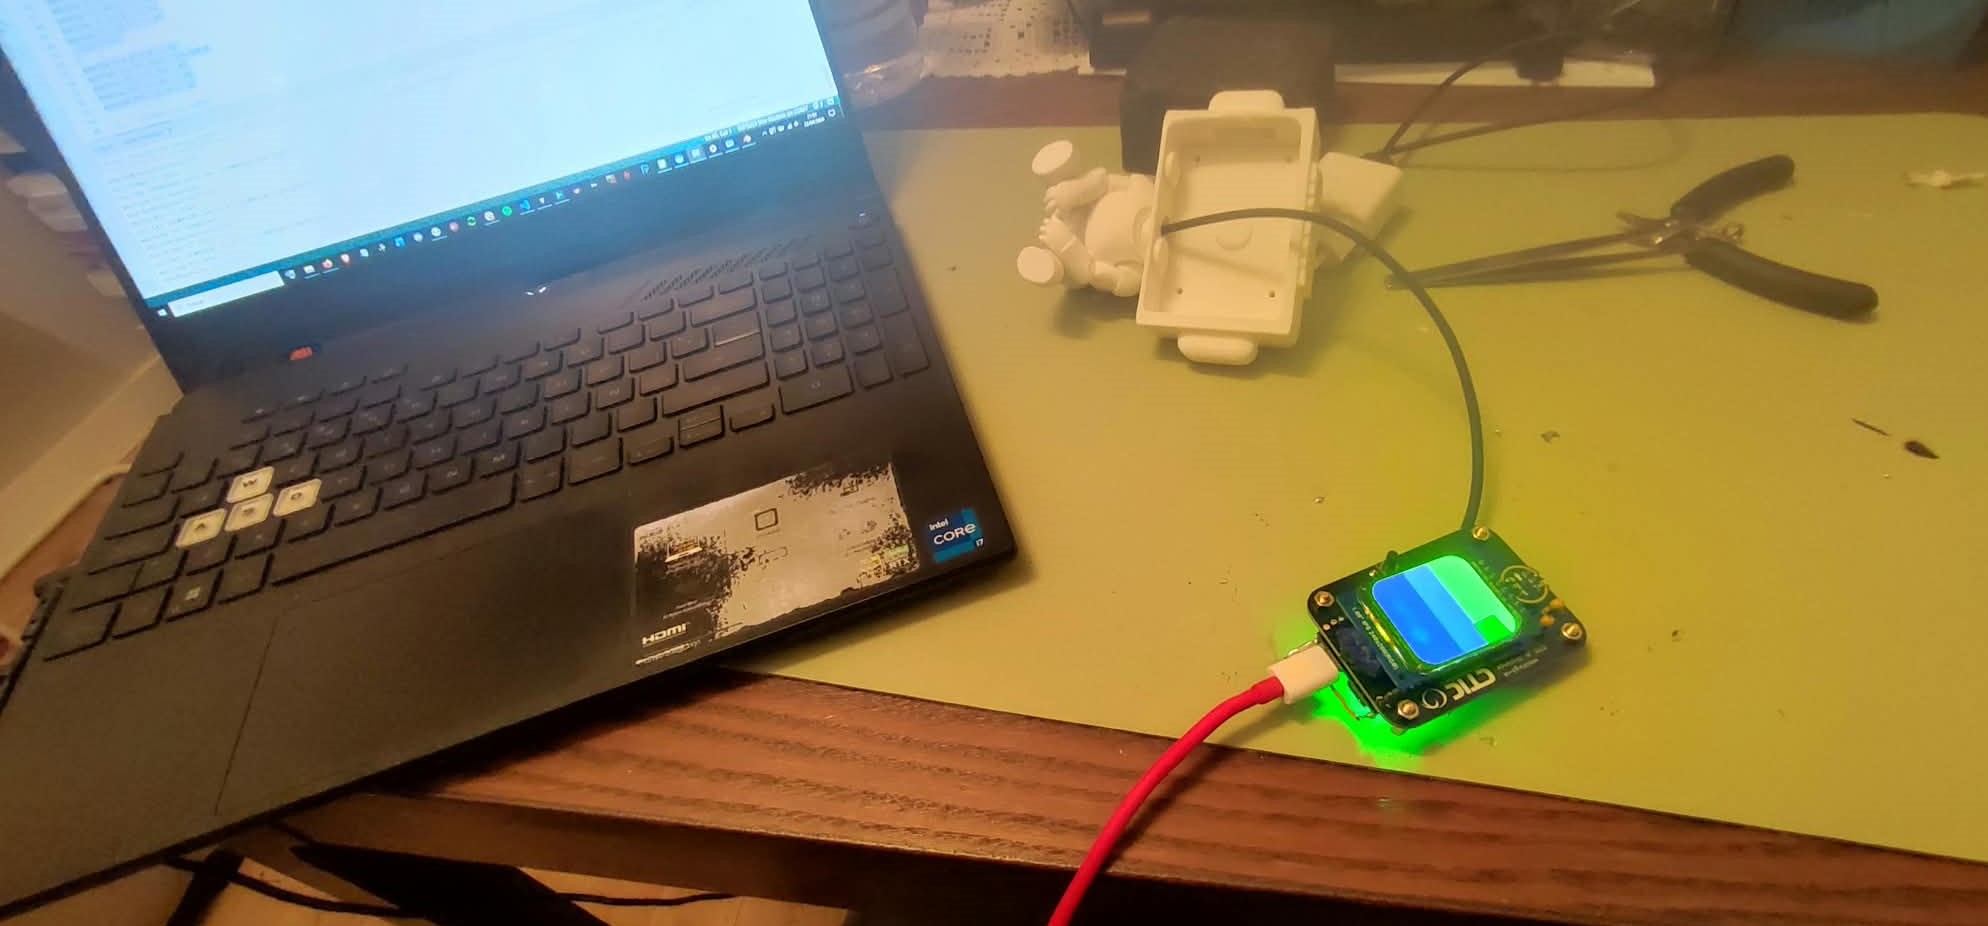
Prototyping the display
First: prove the TFT and bitmap pipeline before worrying about audio.
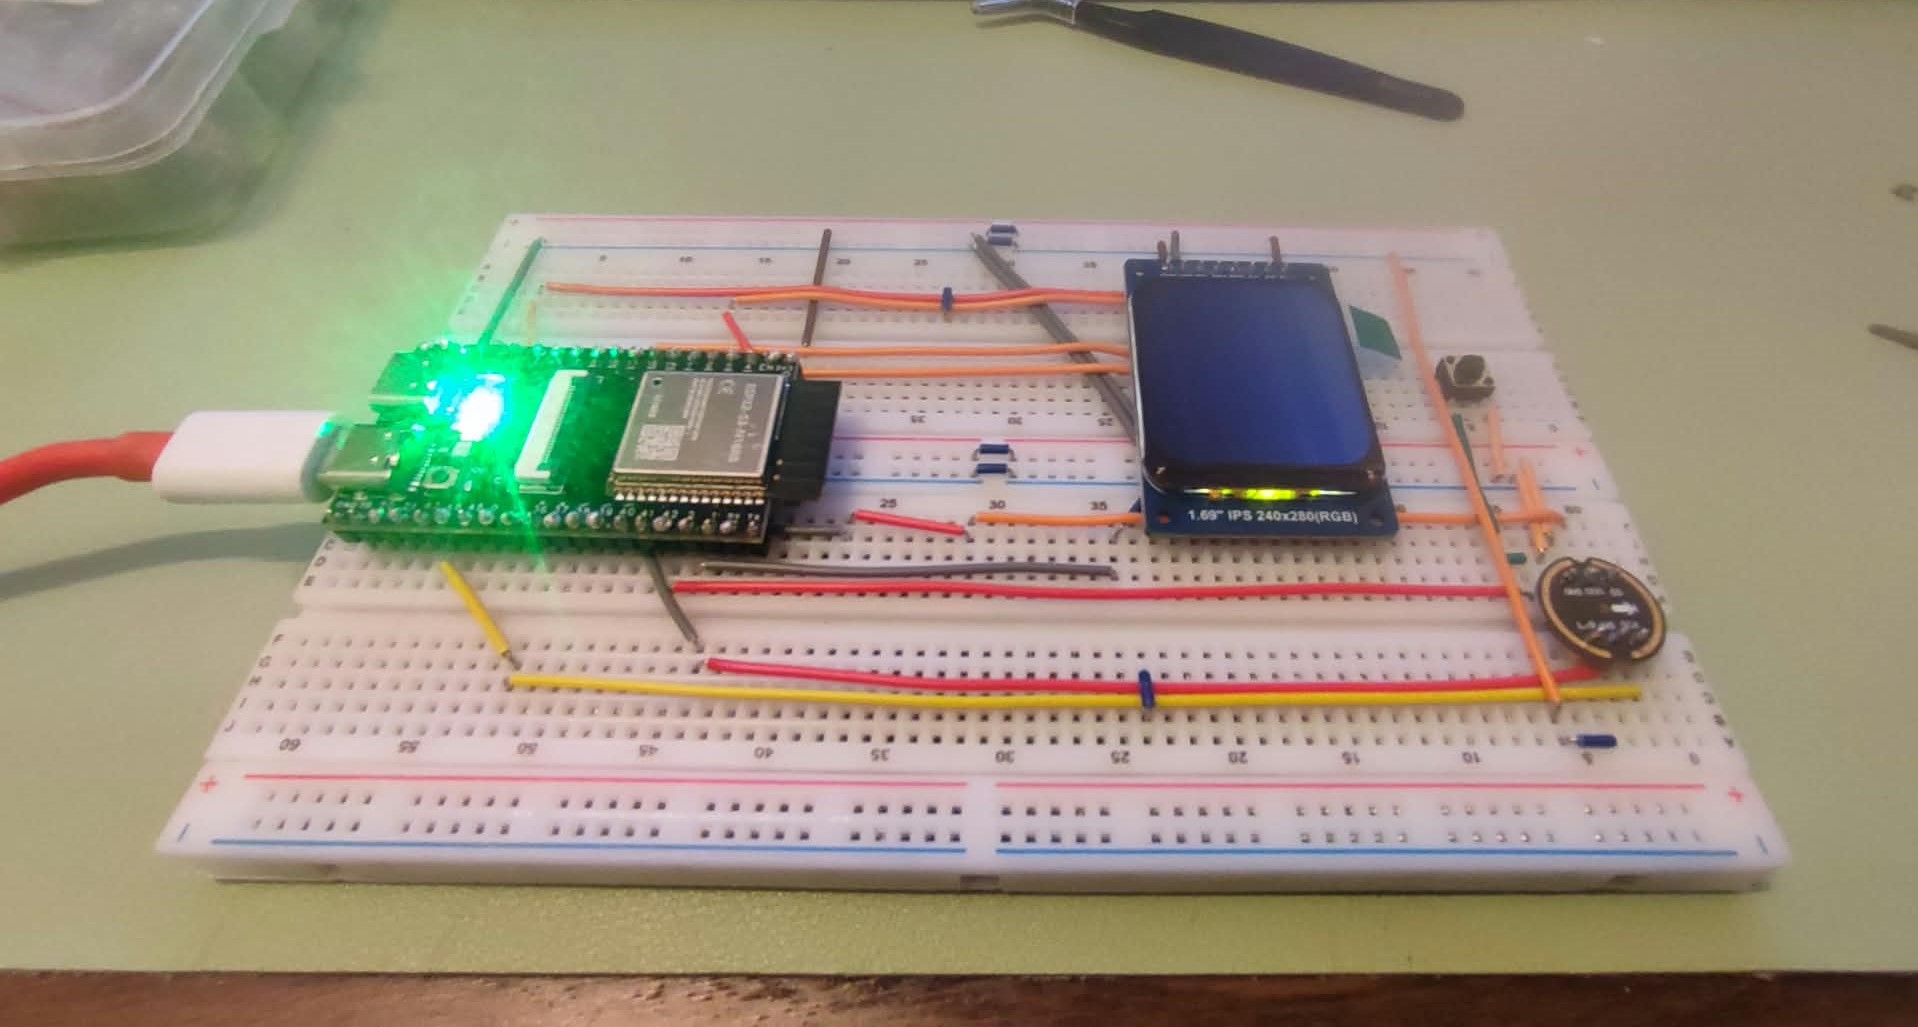
Breadboard
Then the honest prototype: ESP32-S3, jumpers, mic path, button, and the IPS panel on a breadboard.
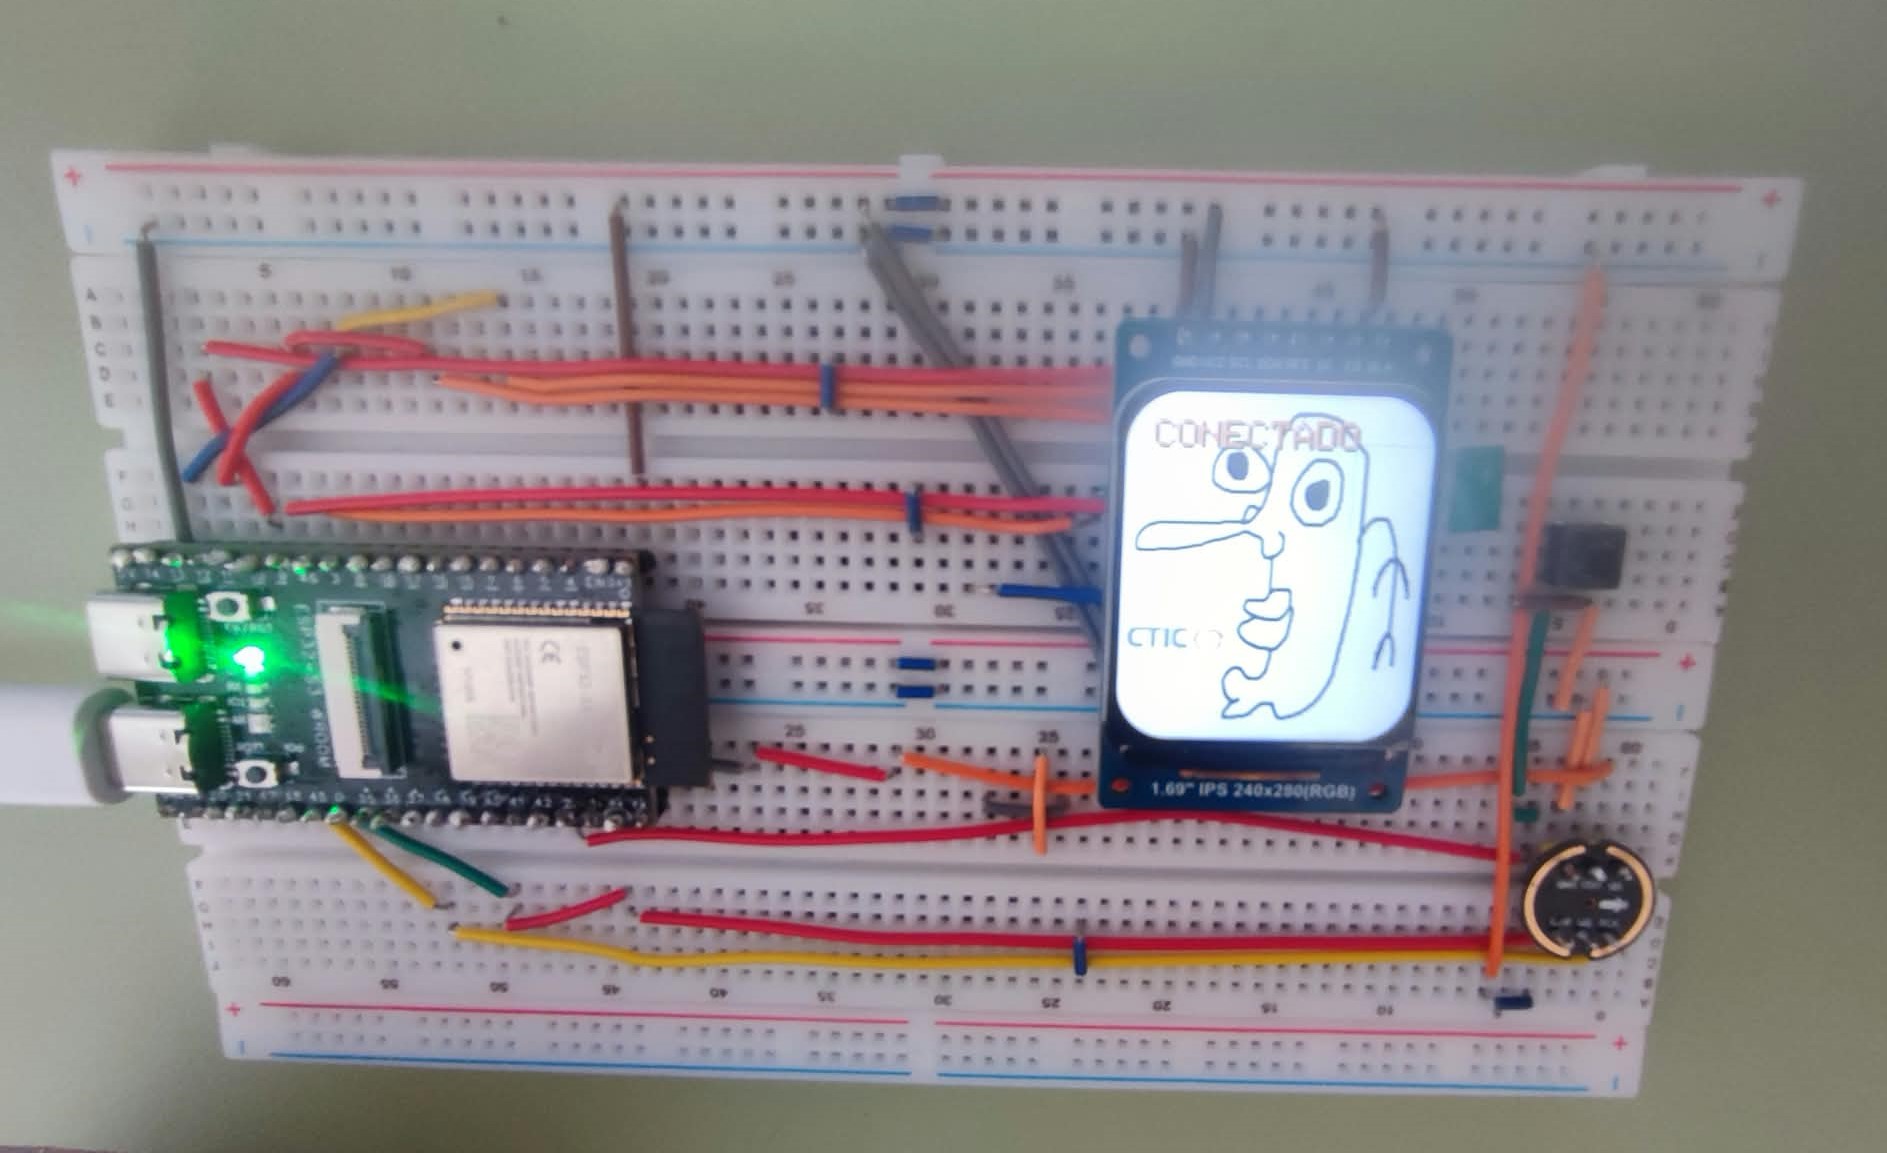
Once WiFi and the WebSocket handshake stuck, the screen showed CONNECTED — end-to-end loop alive.
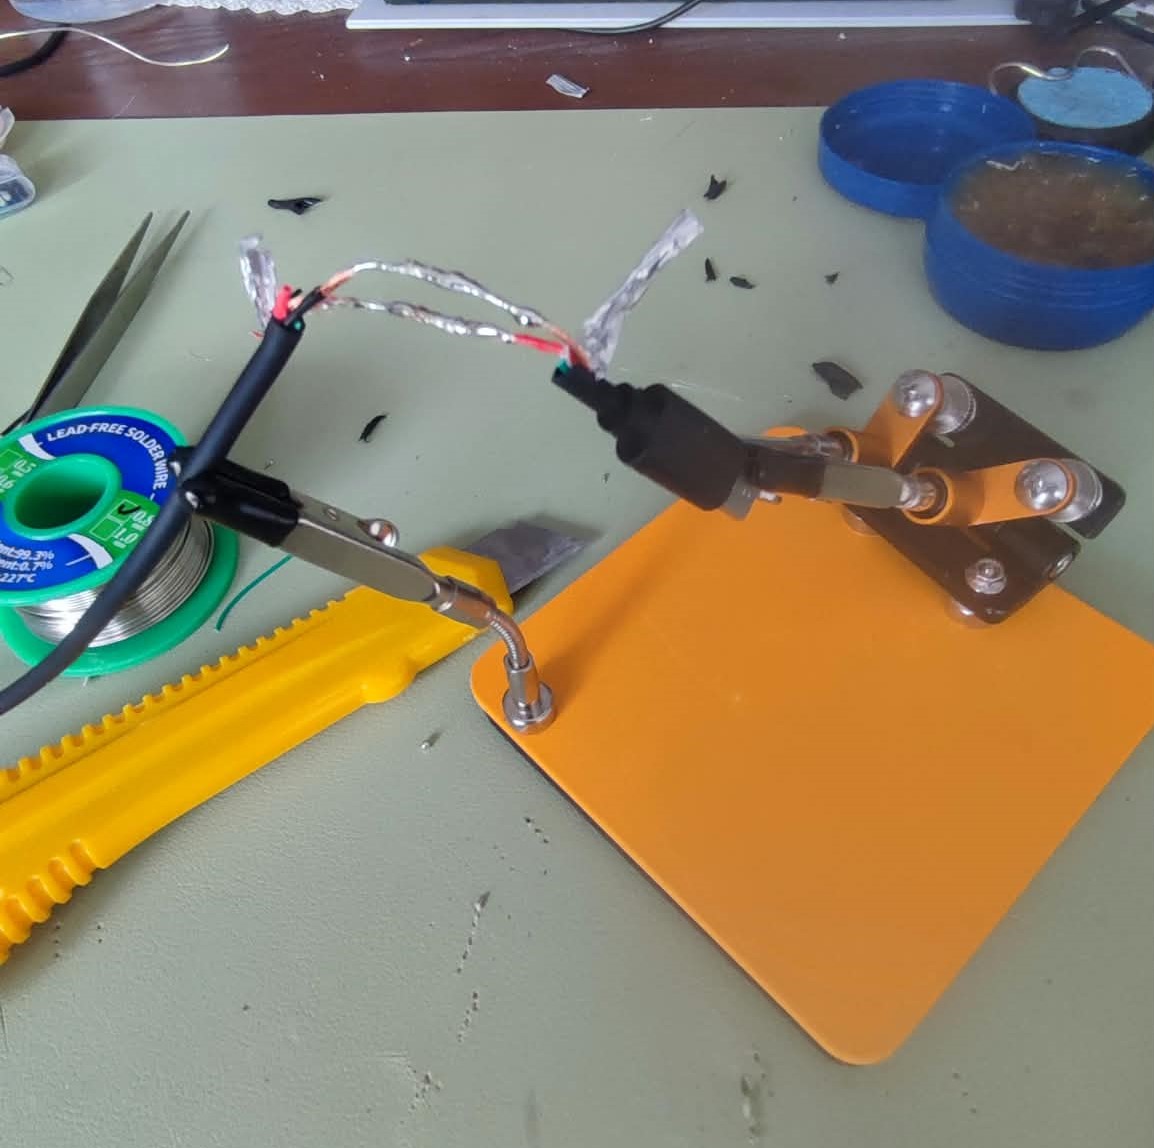
Soldering & cleanup
Cable work and soldering before freezing the pinout into copper.
Custom PCBs
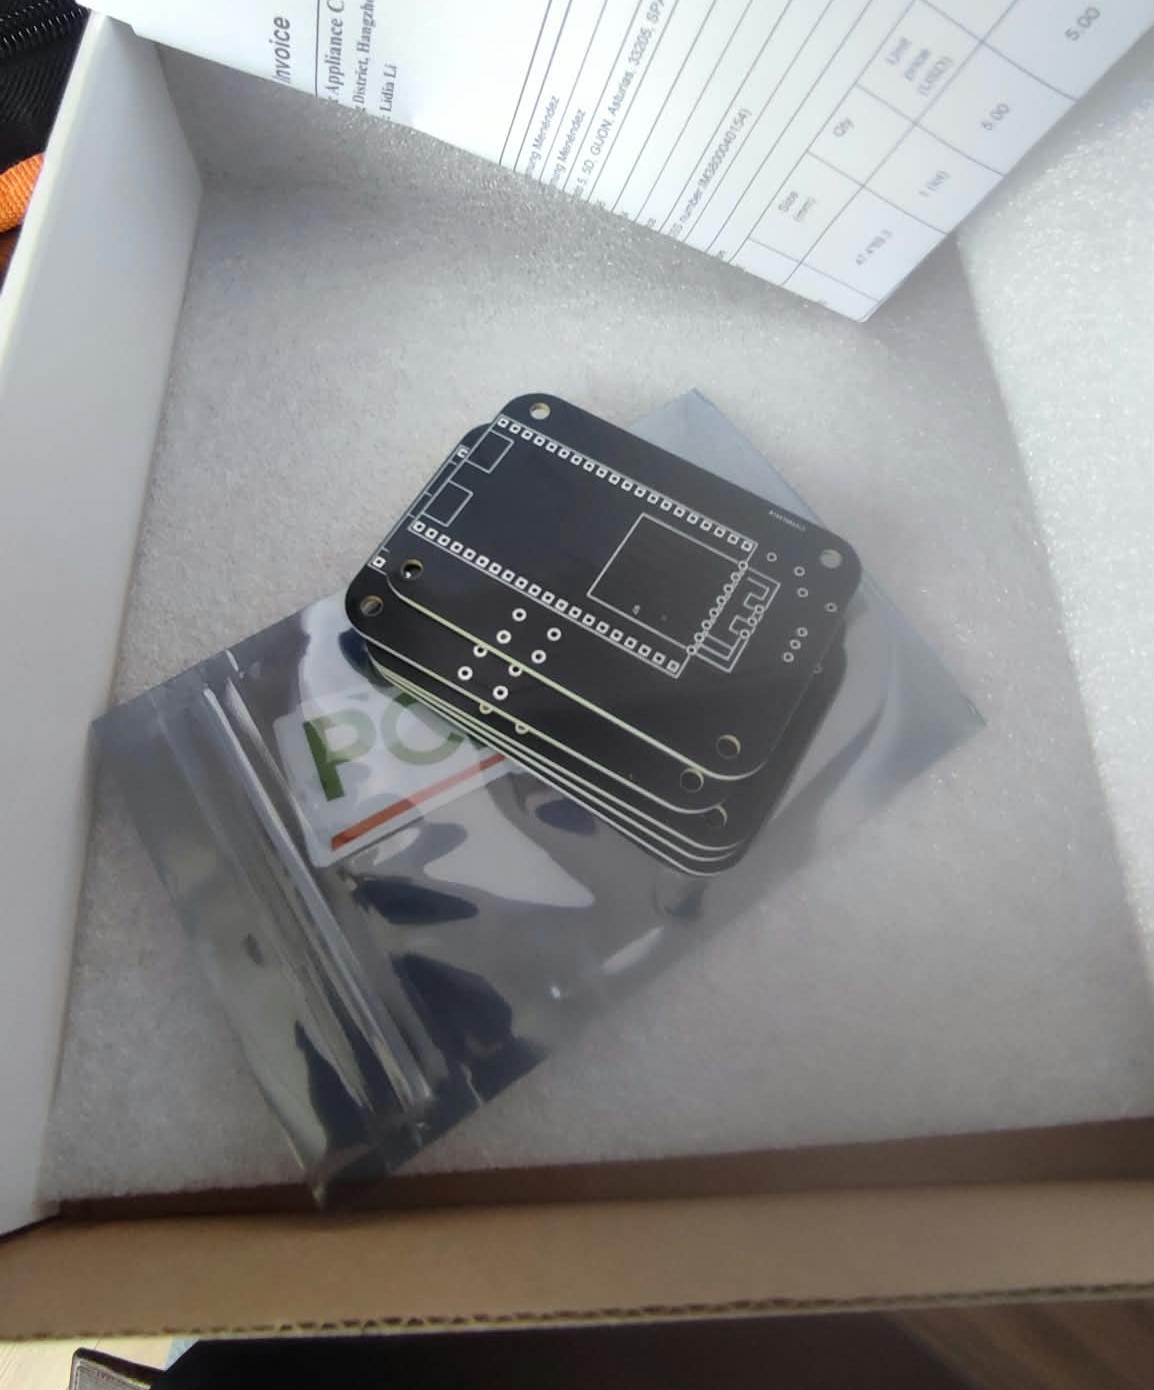
Boards from PCBWay:
[!IMPORTANT]
Huge thanks to PCBWay for manufacturing these boards. The silkscreen printing is precise and clear, and the board surface is well-finished, making it very easy to clean with isopropyl alcohol.
If you want to order with them: their prices and turnaround are excellent — check them out at pcbway.com.
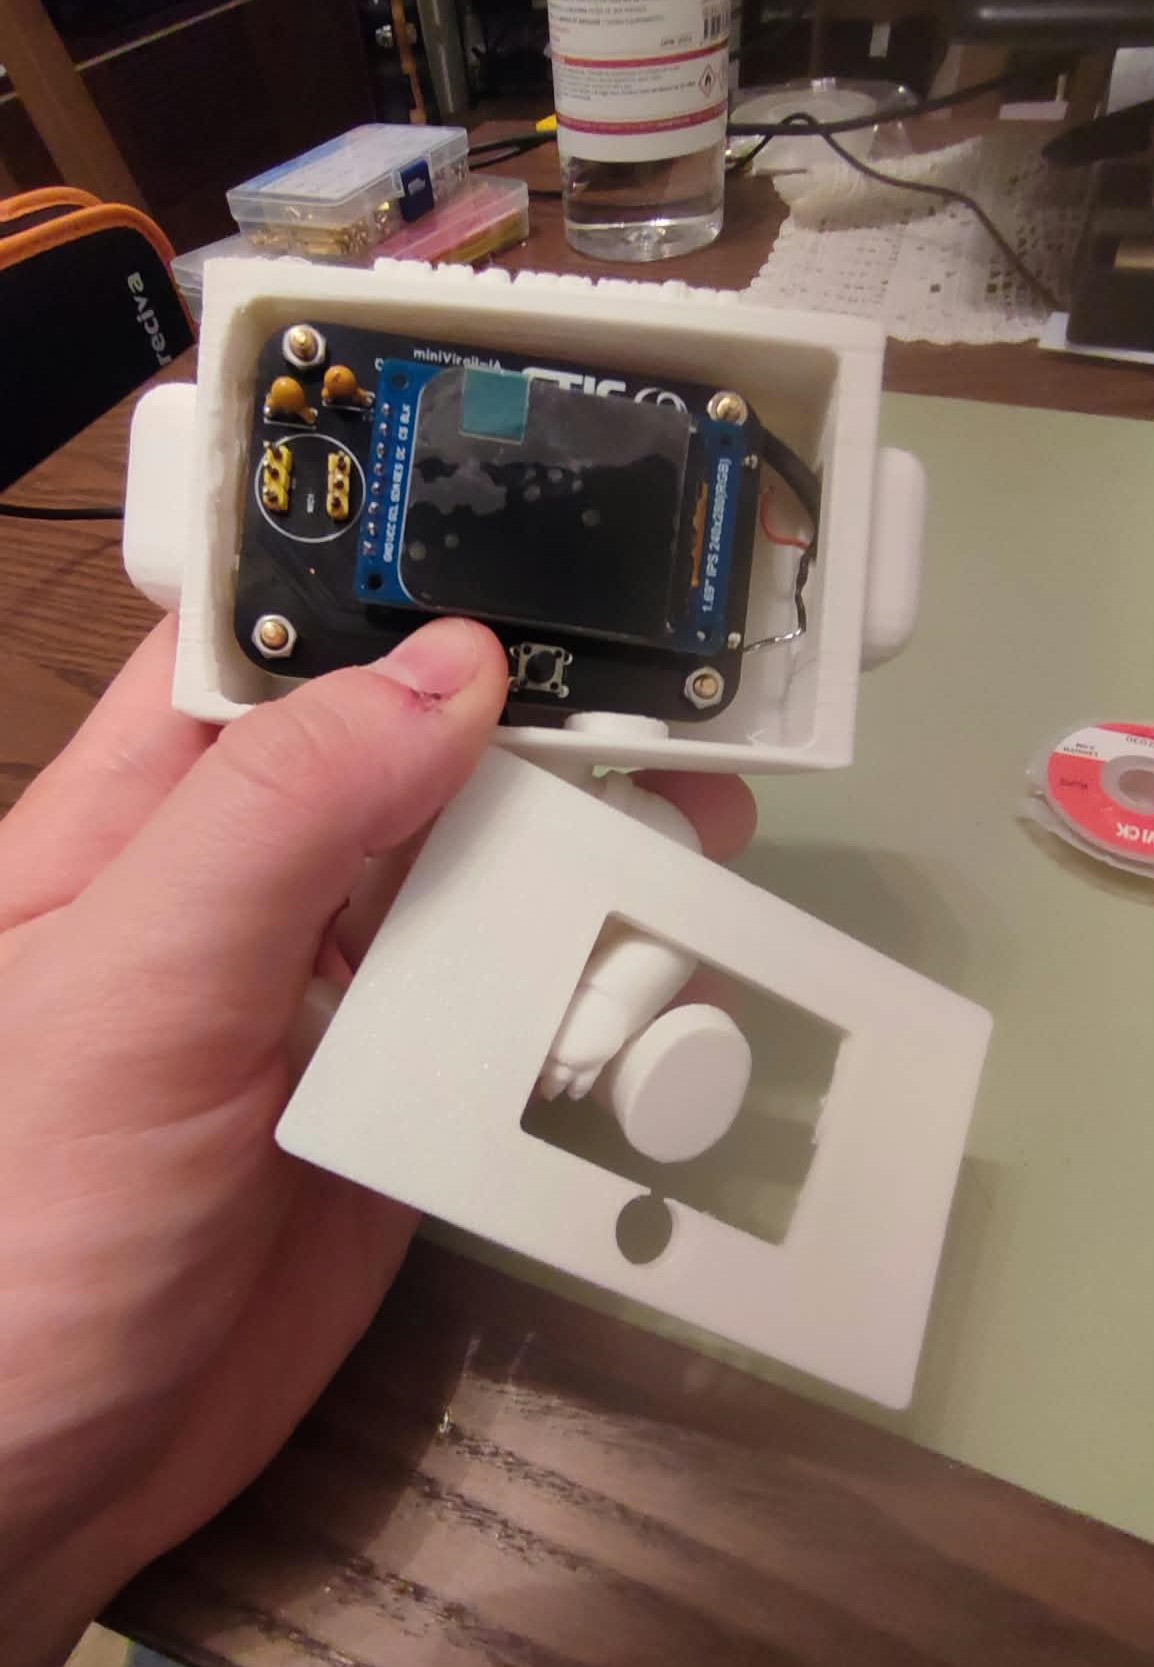
Into the shell
Fitting the PCB and display into the printed body:
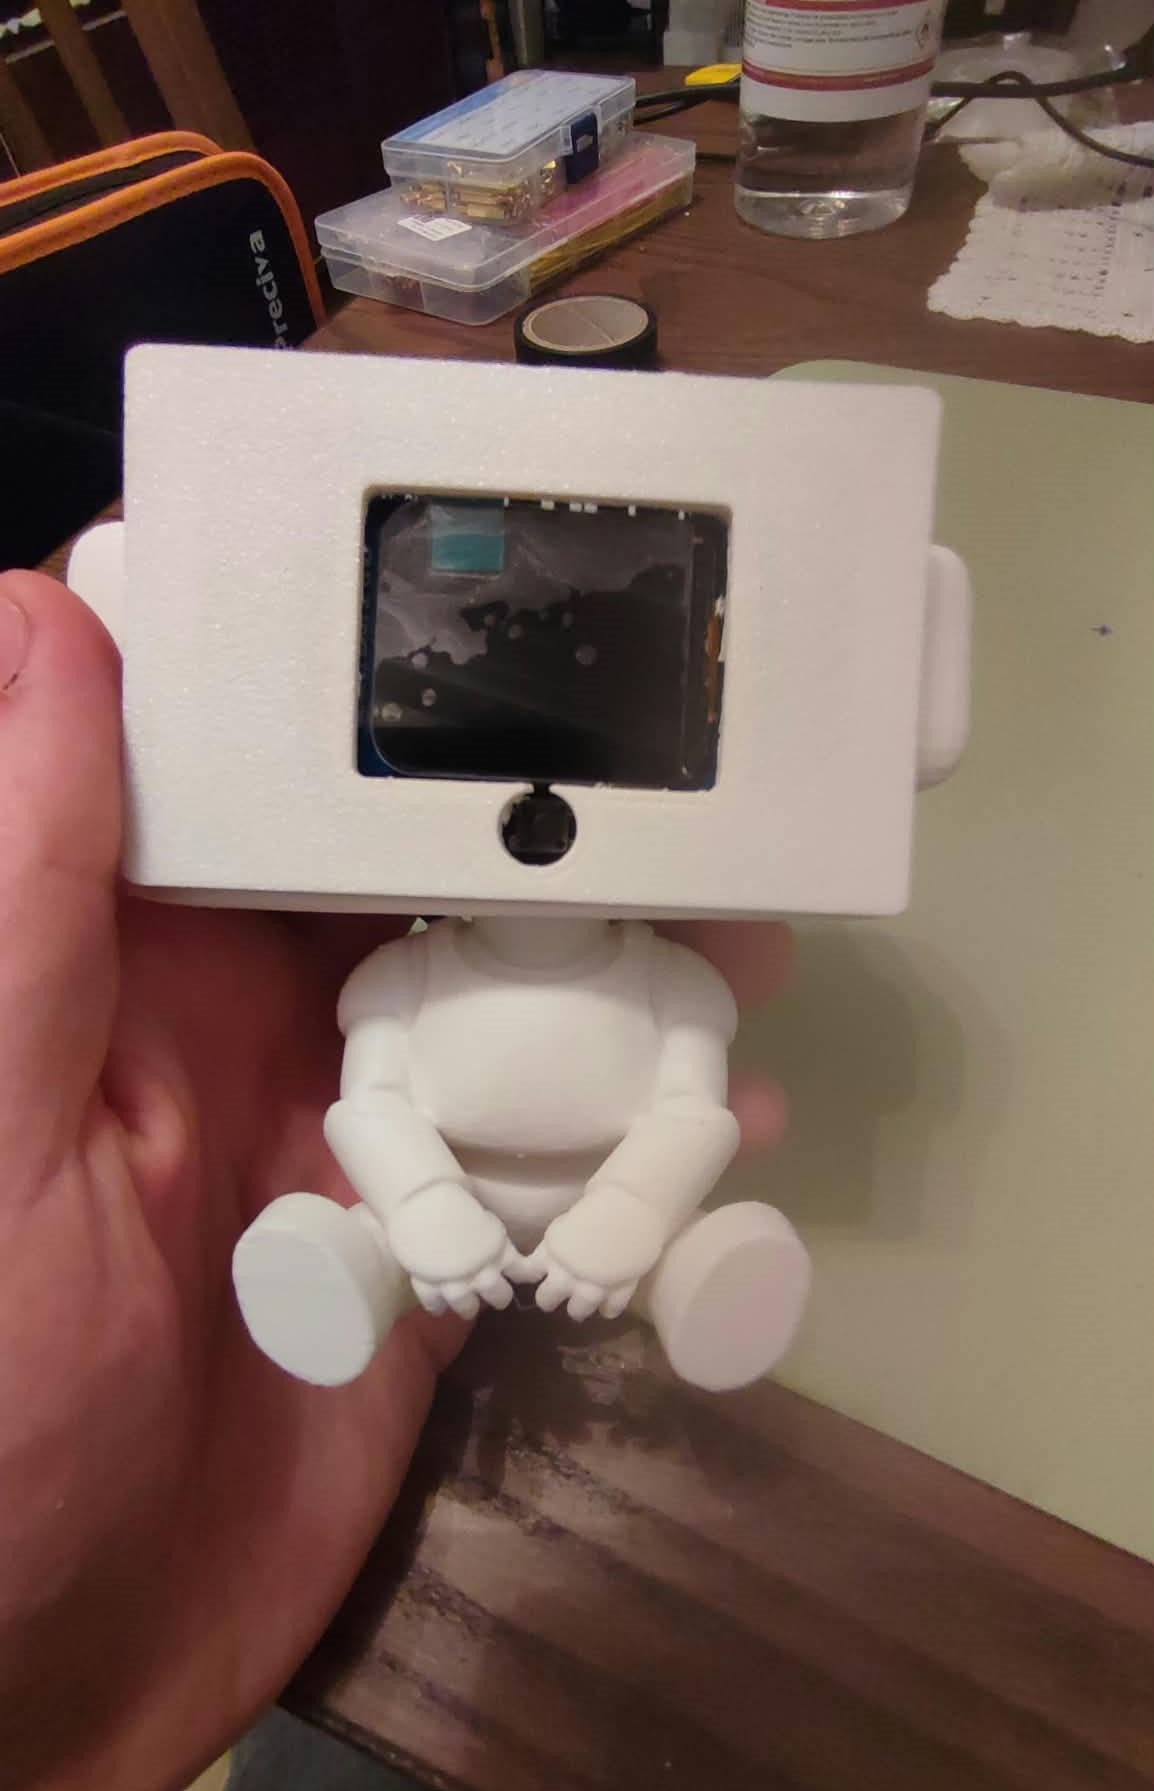
Desk companion, assembled:
What’s next
Roadmap highlights from the repo: play TTS back on-device (I2S amp), wake-word instead of the button, status LED, OTA, and a BLE fallback for locked-down networks.
Schematic, PCB, firmware, and mechanics: github.com/agarnung/miniVirgil.
